These activities have originally been designed for use in the subjects of Technology and Plastic and Visual Education by 11-12 year old students who are studying 1st ESO in Spain (equivalent to 7th year of High school). It is well known that some children do not find it easy to imagine an object in three dimensions, much less how they would look from different directions.
This project has been created to help those students.
This project consists of twelve 3D models that can be viewed with a computer and/or with a smartphone or tablet using Augmented Reality.
There are two activities:
Activity I, where the 3D models appear on the screen at the beginning. This activity will help students how they should work.
Activity II,where the figures only appear after pressing a button, which means that the students – already trained – can deduce the 3D models from their different views.
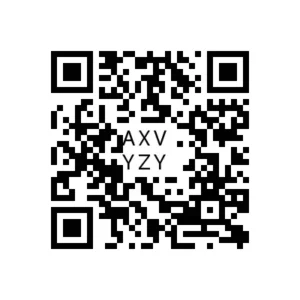 | 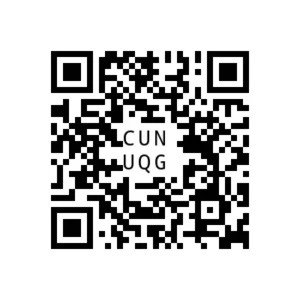 |
| Firs activity https://edu.cospaces.io/AXV-YZY Share code: AXV-YZY | Second activity https://edu.cospaces.io/CUN-UQG Share code: CUN-UQG |
Cospaces (Cospaces.io)
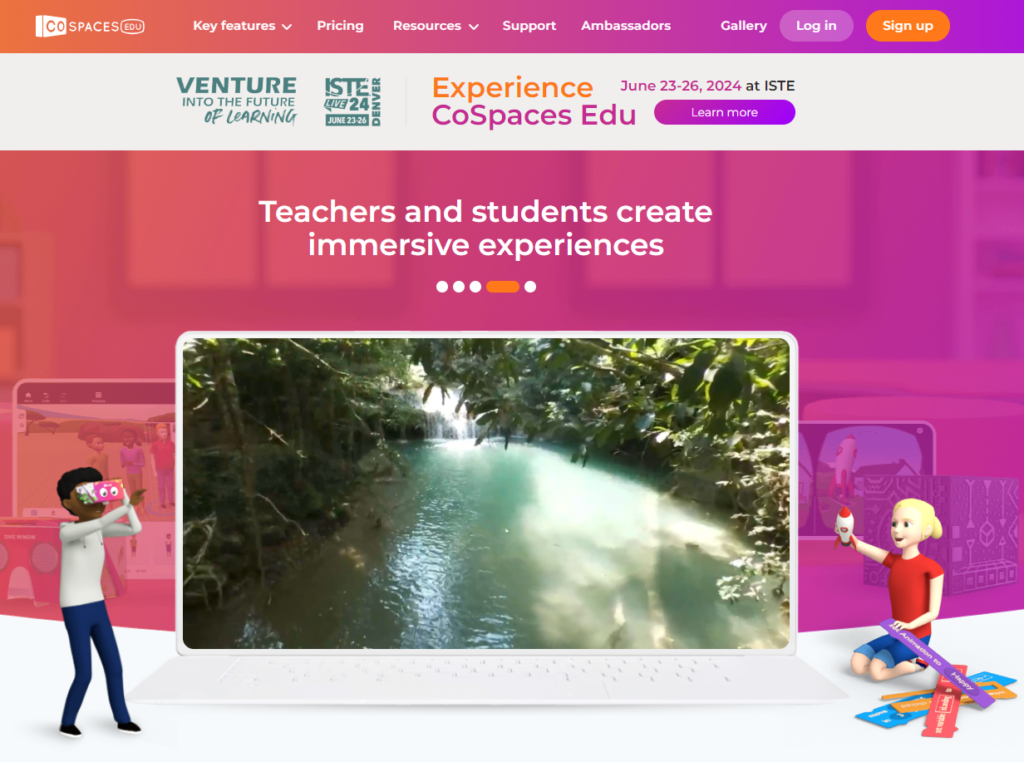
It is a platform – widely used in the educational world – for digital creation. Its versatility is very powerful and allows us to do from very simple things to the use of programming, creating storytelling, virtual tours, virtual and augmented reality, creating dioramas, museums, etc. One of these options is Augmented Reality with the Cube Merge.
Cub Merge
Web Merge: https://mergeedu.com/cube?cr=1611
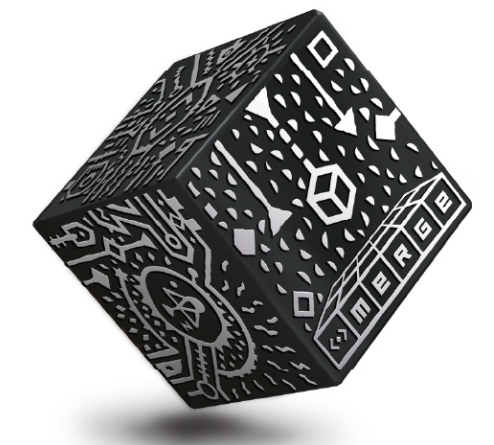
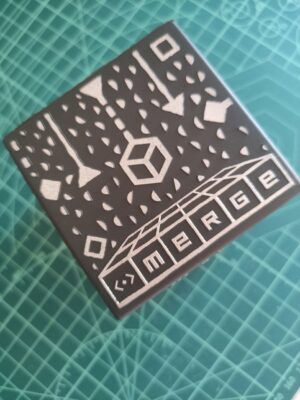
The Merge Cube is a black and silver physical cube that has inlaid designs that interact with various Merge Cube apps to transform the cube into a digital canvas, whether that entails the human body, animals and plants, dinosaurs, or a mechanism. The cube works in tandem with an app. The Cube works by using the camera function in the apps to detect the different patterns of the cube’s sides to allow the coding to interact with it, in the same manner as a QR code on a product.
All instructions and information are here:: https://support.mergeedu.com/hc/en-us/articles/360052933492-Making-a-Merge-Paper-Cube
The Merge Cube can be obtained at this link: https://mergecube.com/paper-pdf

Activity I (with computer)
First activity
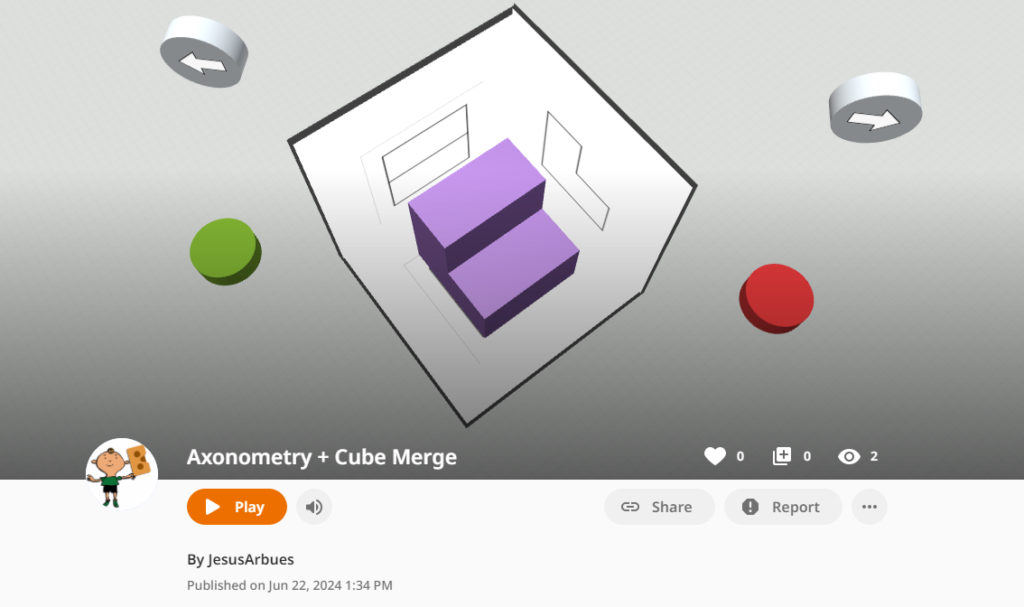
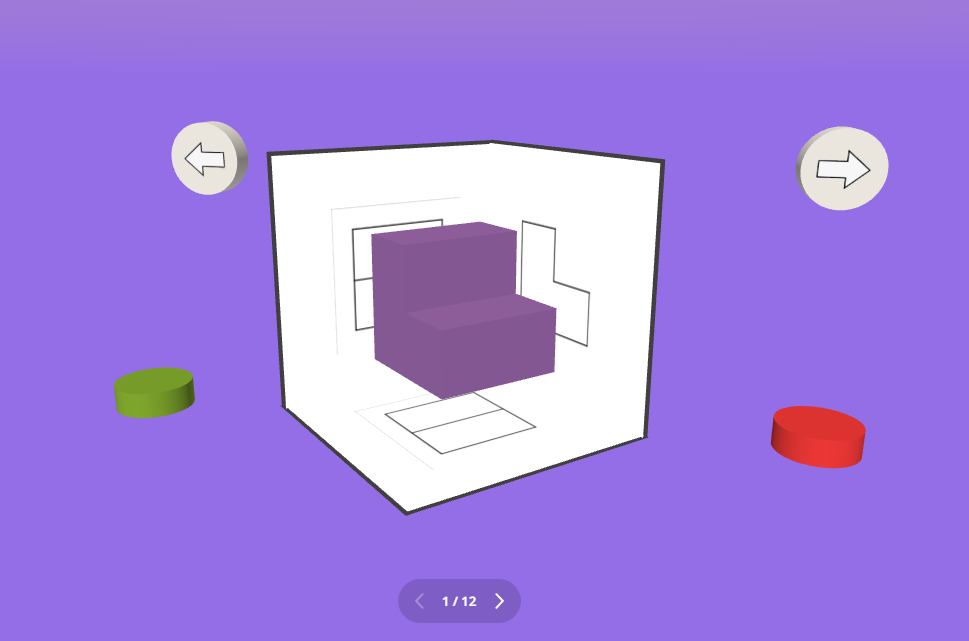
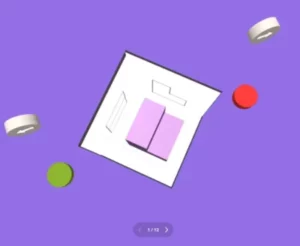
This is the first model that appears in the activity.
You might use the wheel of the mouse to zoom in/out.
In order to rotate the content that appears in the scene you might use the arrows on your keyboard, so it lets you view the model from different space directions (including those to obtain orthogonal projections).
By clicking or hovering over the arrow buttons you can obtain the classic navigation options: move forward/backward to the next/previous scenes.
You might also press the red or the green button to make the model disappear or appear. This can help to better see the views that are just behind the figures.
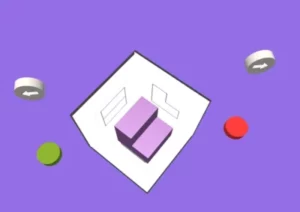 |  |
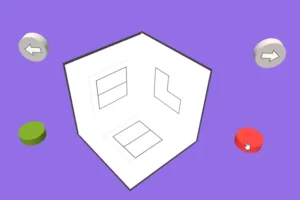
 | In this way, by moving the figure you can match different points of view. You can look at it from above, this will show you what is projected on the floor; from the two upper sides that will give you the elevation and profile projections, orthographic projections. |
Buttons
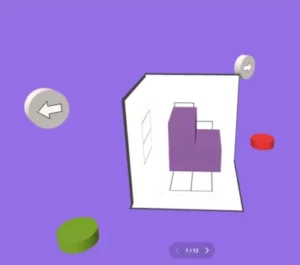
By clicking or hovering over you can get the classic navigation options: go forward, go back – different figures – in the scenes and, as a help, the red and green buttons make the figure disappear or present it again.
 | 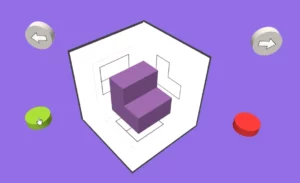 |
This can help to better see the views that are just behind the figures.
Activity II (with mobile or tablet)
With the second activity you will see that the 3D pieces do not appear at the beginning. And the only available button will be the opposite of the state of the figure: red button to hide/green button to show.
 | 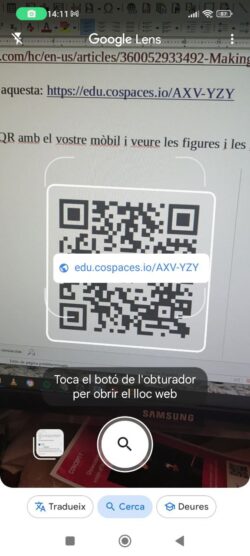 |
| Place the cube on a surface Scan the application’s QR code | Scan the application’s QR code |
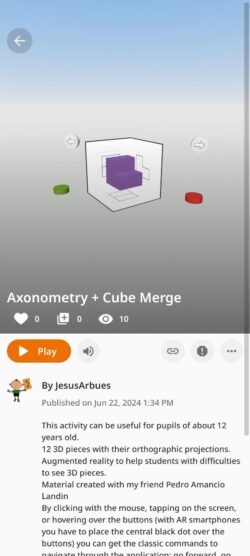 | 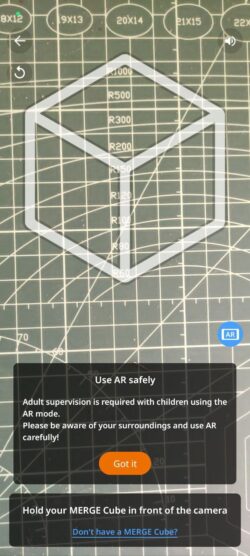 |
| The activity opens from the Play button | Now we need to match the white silhouette that appears on the screen (cube shape) over our Merge Cube. |
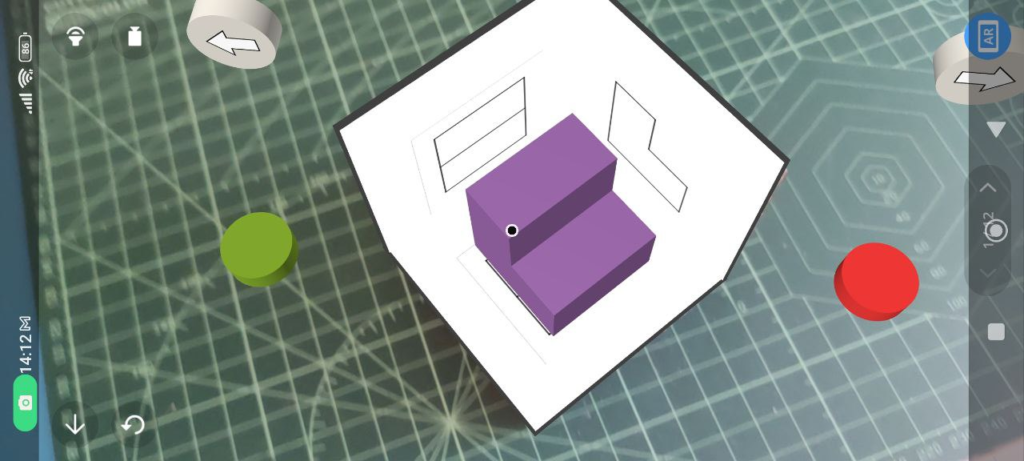
Buttons
As in computer activity, by clicking or hovering over the arrow buttons you can get the classic navigation options: move forward/ backwards to the next/previous model.
Once again, the green/red button makes the model appear or disappear.
Complementary materials:
Sheets with the drawing of 3D Objects – isometric drawing – to be able to draw their views.. Link
Sheets with the views of the 3D Objects. Link